
Last updated August 25, 2026
Free visual inspection and a written scope of work before any mitigation begins - photos, moisture readings, and drying logs go in your claim file
The scope we write is the scope we bill. Anything new gets shown to you, in writing, before we touch it.
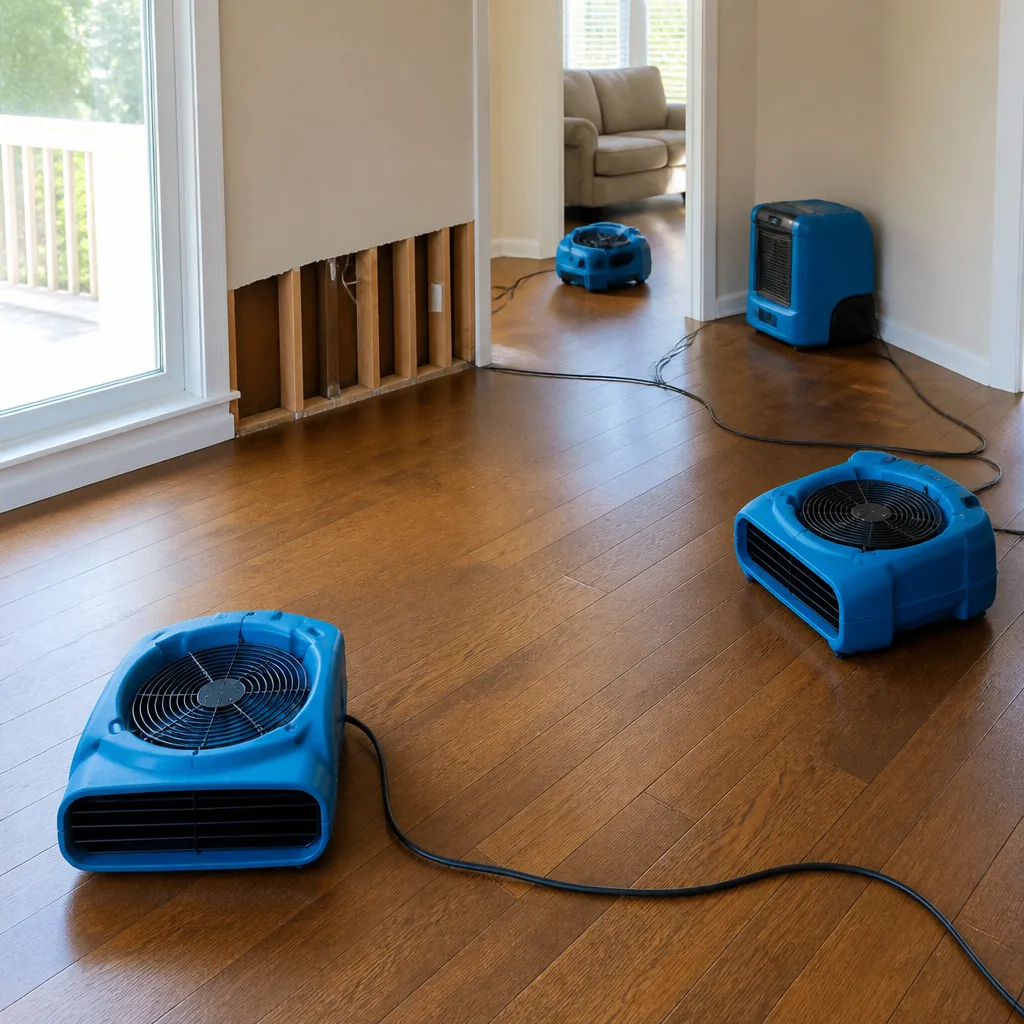

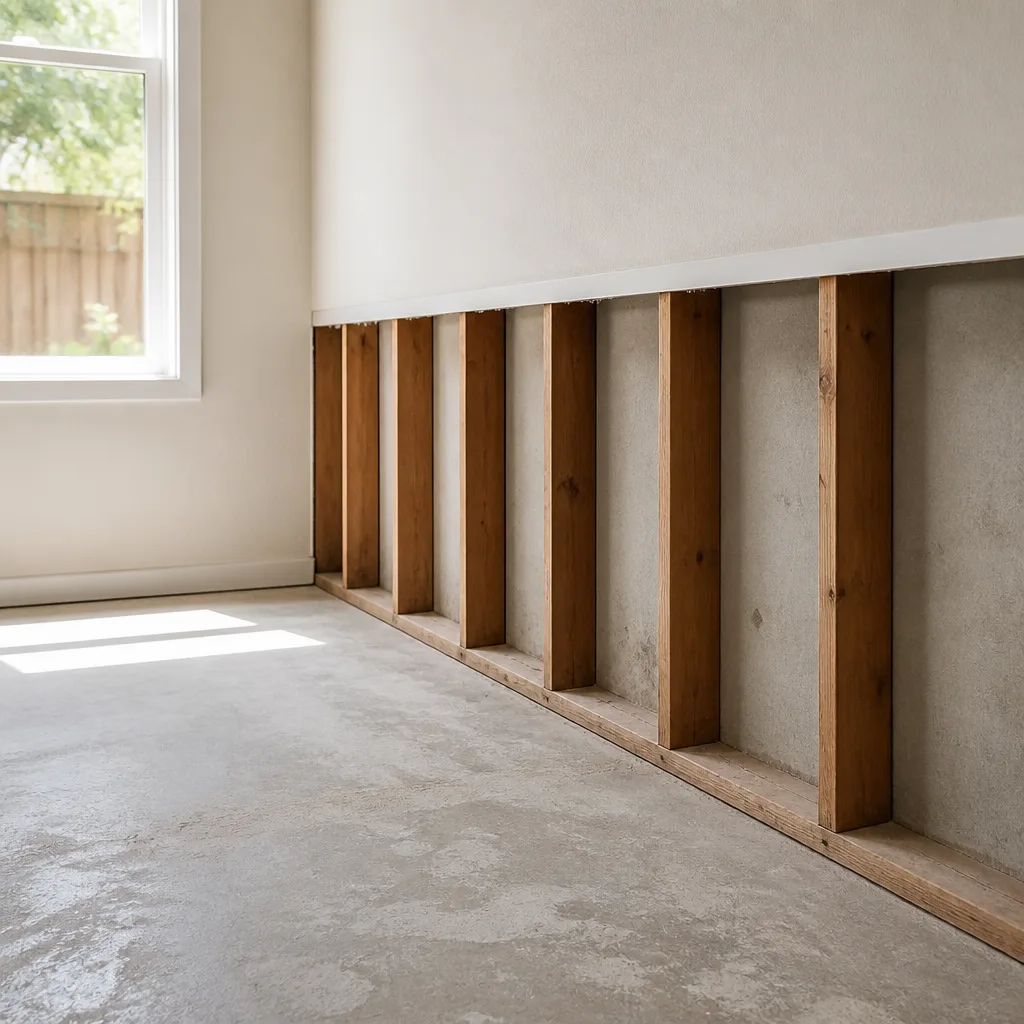


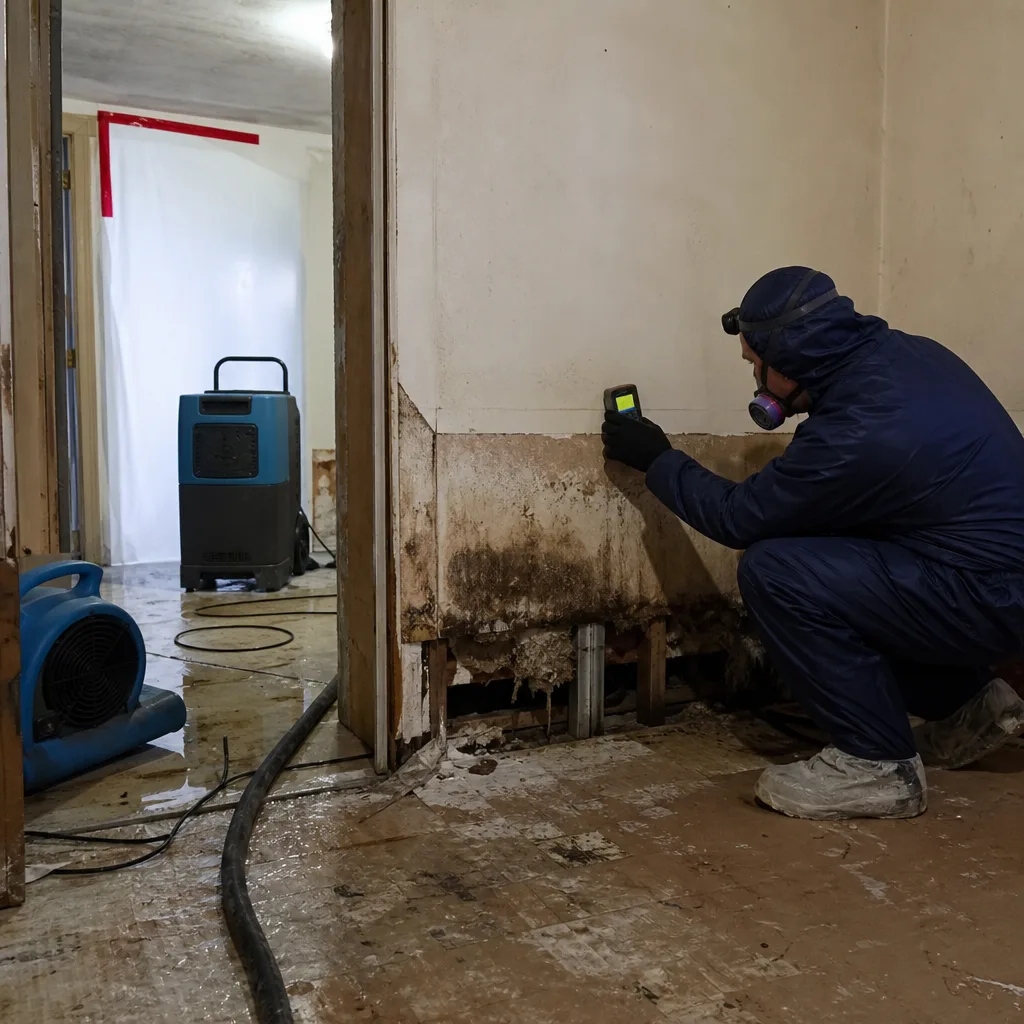 Before
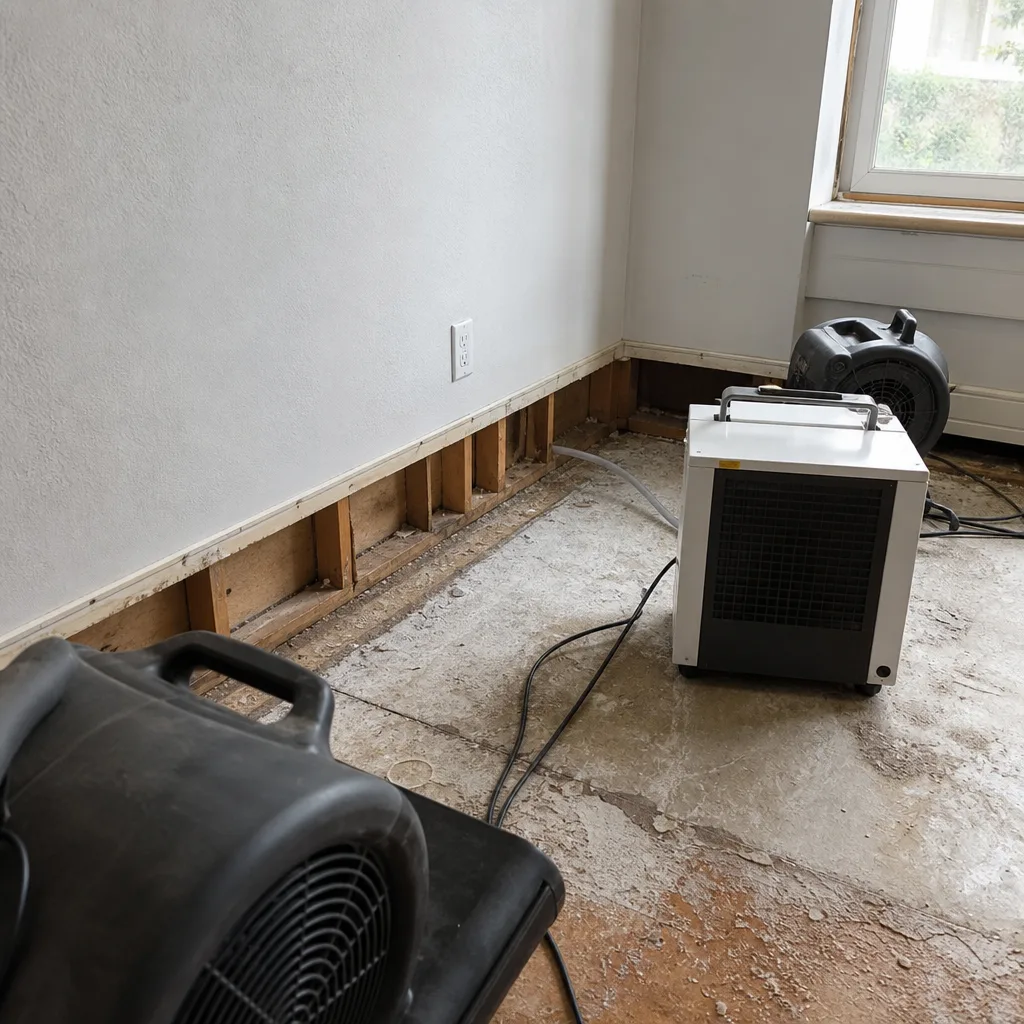 After
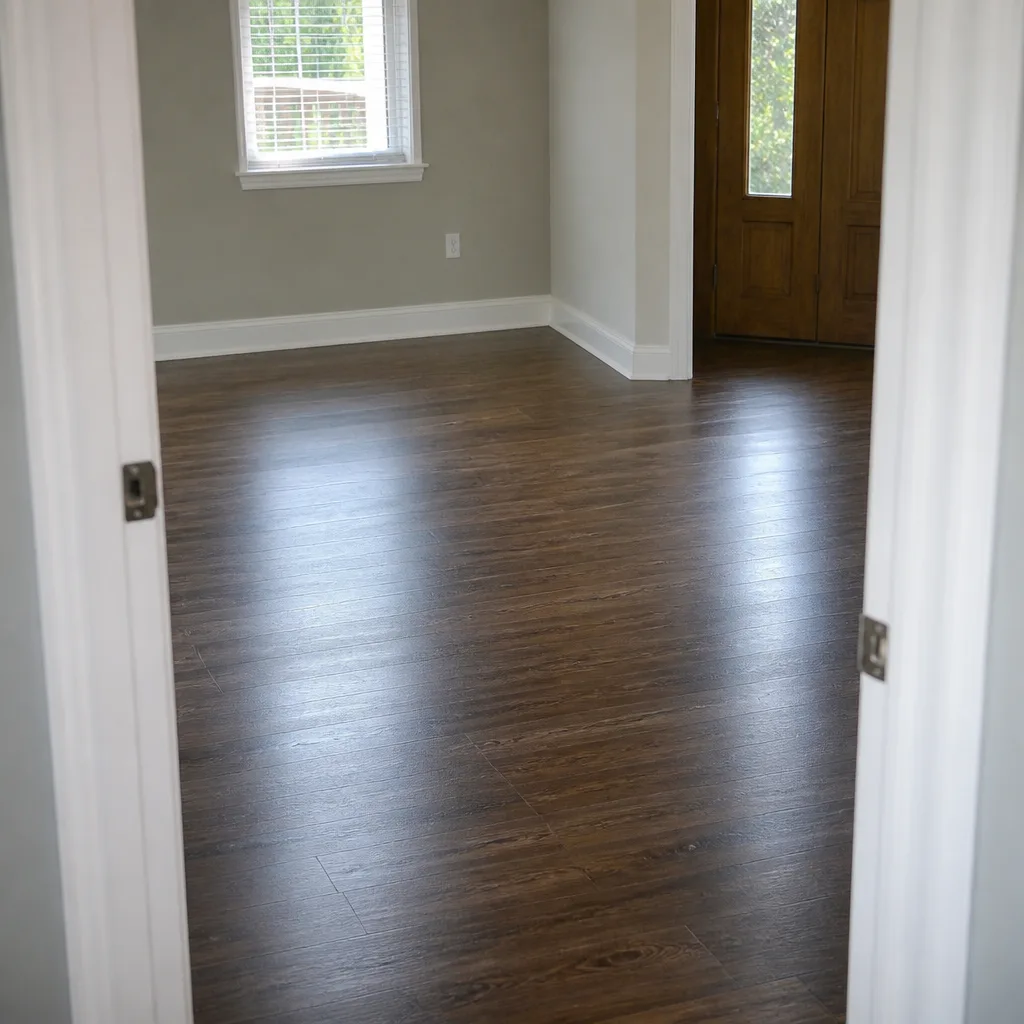
After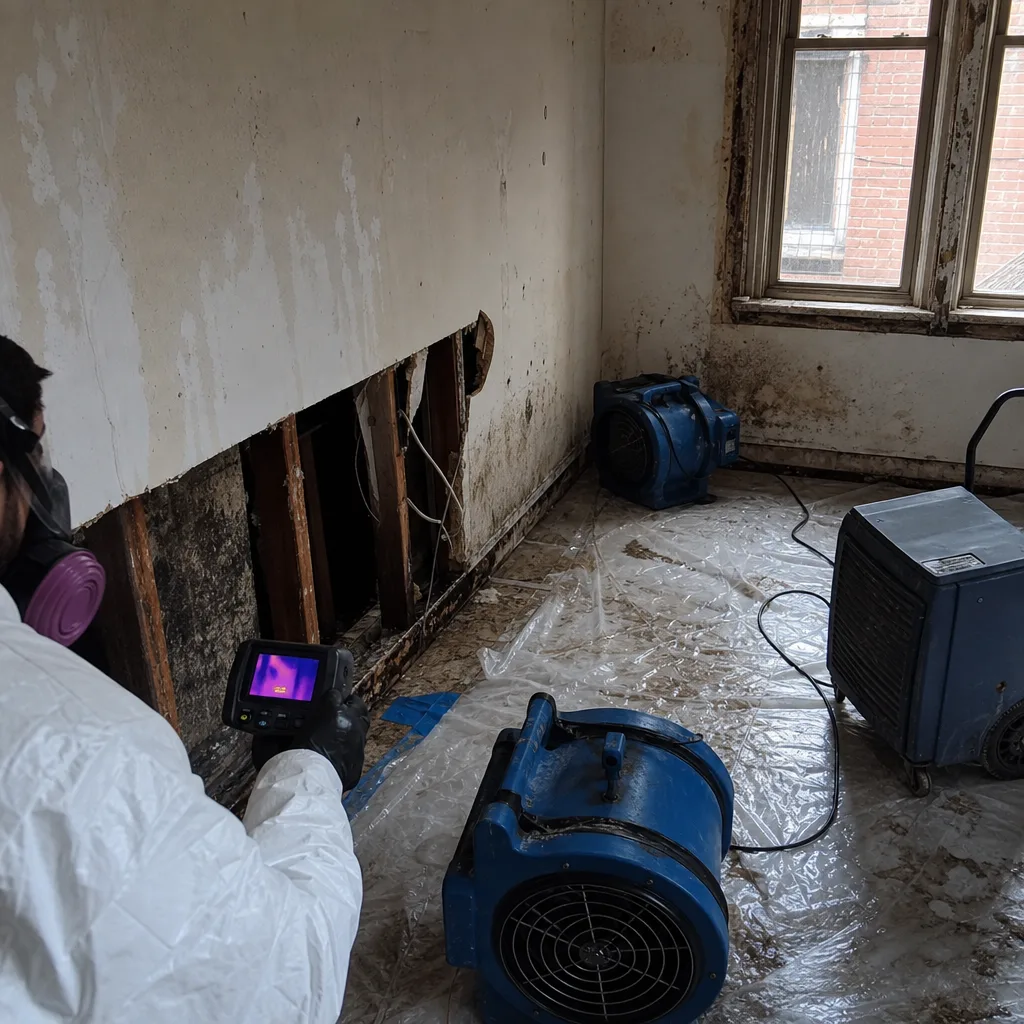 Before
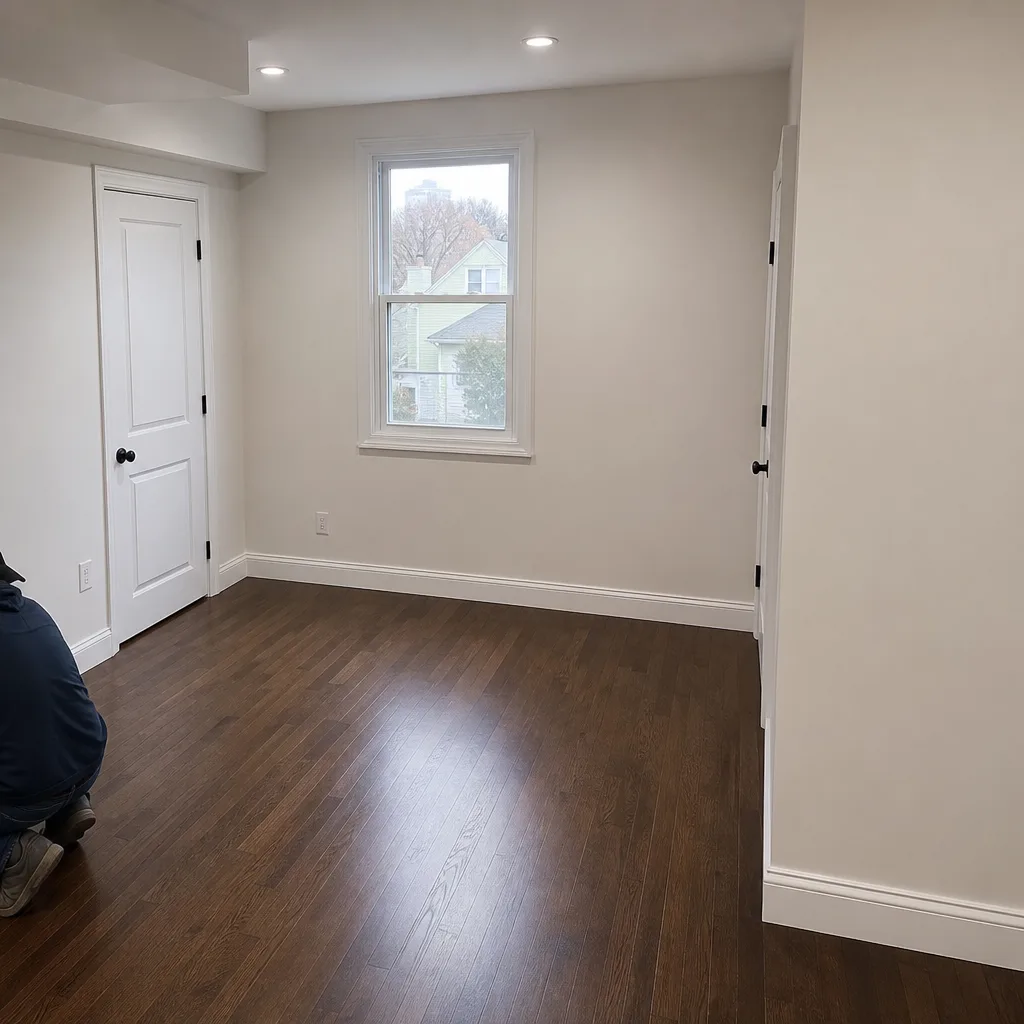 After
AfterWater Damage Restoration Maintenance Checklist for Astoria Homeowners
Most Astoria homeowners don’t lose sleep over a pinhole leak behind the washing machine or the slow drip under the kitchen sink. They should. According to industry data, water damage claims are among the most common property insurance filings in Queens County, and the average claim runs well into four figures before you even get to the cost of being displaced from your home. This guide is built for the homeowner who wants a working checklist, not a sales pitch. We’ll walk through what to inspect, how often to do it, what you can safely handle yourself, and when it’s time to call a crew that carries commercial drying equipment. If you live in Astoria, this is the maintenance rhythm that keeps a small leak from becoming a gut job.
Quick Answer
An effective water damage prevention checklist for Astoria homeowners comes down to monthly visual inspections of high-risk areas, seasonal maintenance of gutters and sump pumps, and knowing the difference between a surface fix and hidden moisture. Most water damage starts with a $12 part and a slow leak that gets ignored.
Table of Contents
- Your Monthly Inspection Walkthrough
- Seasonal Maintenance for Astoria’s Climate
- Appliance and Fixture Checklist
- How to Detect Hidden Moisture Without Professional Gear
- What You Can Fix Yourself vs. What Needs a Pro
- Insurance Considerations for Astoria Homeowners
- Common Mistakes to Avoid
- When to Call a Professional
- Frequently Asked Questions
- The Bottom Line
Your Monthly Inspection Walkthrough
Fifteen minutes once a month is enough to catch 90 percent of the problems that turn into water damage claims in Astoria. The trick is to follow the same route every time so nothing gets skipped. We’ve worked homes from Ditmars to Astoria Boulevard, and the pattern holds: the leak you find early costs a few hundred dollars to fix. The one you find six months later costs thousands.
Here’s the route we recommend, in order:
- Under every sink. Open the cabinet door, run your hand along the bottom of the vanity, and look for water stains, swelling particle board, or that telltale musty smell. Pay attention to the shutoff valves too. If they’re crusted with green corrosion, they’re on borrowed time.
- Around every toilet. Check the floor around the base for soft spots or discoloration. A toilet that rocks even slightly has a failing wax ring, and that means water is getting under the vinyl or tile every time you flush.
- Water heater area. Look for puddling, rust trails, or a hissing sound. Most water heaters in Astoria basements are 8 to 12 years old, and the first sign of failure is usually a slow seep at the drain valve or the tank seams.
- Ceilings below bathrooms. Go to the floor beneath any bathroom and look up. Stains that look like old coffee rings, bubbling paint, or drywall tape pulling away all point to a slow leak above.
- Exposed pipes in the basement or crawlspace. Sweating pipes on hot, humid Astoria summer days are normal. Actual drips are not. Wrap sweating cold-water pipes with insulation to prevent condensation damage to joists and flooring above.
- Windows and doors. Run a damp hand around frames during the next rain. If you feel a draft or see water beading on the interior sill, the flashing or caulking has failed.
Astoria’s housing stock skews older. A lot of the prewar buildings and postwar brick rowhouses have original plumbing in places. Copper from the 1950s and 1960s is nearing the end of its service life, and pinhole leaks often show up first at threaded joints. A monthly look catches those before they become a ceiling collapse.
Seasonal Maintenance for Astoria’s Climate
Astoria gets hammered with humidity in July and August, freezing temps in January and February, and nor’easters that dump inches of rain in a single day. Each season has its own water damage risk profile, and the checklist should change with it.
Spring
- Gutters and downspouts. Clear out fall and winter debris. Clogged gutters send water cascading down the side of the house, and in Astoria’s attached rowhouses, that water ends up against a shared party wall. Downspout extensions should carry water at least 4 feet from the foundation.
- Check the sump pump. Pour a bucket of water into the pit and confirm the pump kicks on and discharges properly. If you have a battery backup, test it now, before the spring rains.
- Inspect the roof from the ground. Look for missing or lifted shingles, damaged flashing around chimneys and vents, and any spots where the roofline sags. Ice and snow from a cold winter can lift flashing enough to let water in.
Summer
- Watch the humidity. Astoria summers press 80 percent humidity in the dog days. If your basement feels damp, run a dehumidifier and keep it set at 45-50 percent relative humidity. High indoor humidity in an unventilated basement is a mold invitation.
- Inspect window and door seals. Summer storms blow rain sideways. Failed seals let that wind-driven rain run down inside the wall cavity where you can’t see it.
- Check AC condensate lines. A clogged condensate line on a central air system overflows into the mechanical closet or drops onto a ceiling below. Pour a cup of white vinegar through the line once in June and once in August.
Fall
- Clean gutters again. Leaf fall in Astoria is brief but heavy. A second gutter cleaning in late October prevents ice dams in winter.
- Disconnect exterior hoses. A frozen hose bib splits the copper pipe inside the wall. The break doesn’t show itself until spring when you turn the hose on and water pours inside the wall.
- Inspect the boiler and radiators for leaks. Before the heating season kicks in, run the system briefly and check every radiator valve, the expansion tank, and the pressure relief valve on the boiler.
Winter
- Keep pipes from freezing. In Astoria’s unheated basements and crawlspaces, pipes on exterior walls freeze fast when temperatures stay below 20 for consecutive nights. Let faucets drip during deep cold snaps and leave cabinet doors open under sinks on exterior walls.
- Watch for ice dams. After a heavy snow, look at the roofline. Thick ice at the eaves means warm air is escaping into the attic, melting snow, and refreezing at the cold edge. That water backs up under the shingles and finds its way inside.
Appliance and Fixture Checklist
In our 42 years serving local communities, we’ve never once been called for a flood from an appliance that was too new. The calls come from machines that have been doing the same job quietly for a decade or more, and the failure is almost always a rubber hose or a gasket that cost less than $20 to replace.
Here’s what to check, with the replacement interval that actually matters:
- Washing machine supply hoses. Rubber hoses should be replaced every 3 to 5 years whether they look worn or not. Better yet, swap to braided stainless steel lines that resist bursting. We’ve seen a burst washing machine hose dump 500 gallons into an Astoria apartment in under an hour.
- Water heater. Drain a few gallons from the tank every 12 months to clear sediment, and check the anode rod every 3 years. Sediment build-up accelerates tank corrosion, and a failed anode rod is the invisible cause of most tank ruptures. If your heater is over 10 years old, plan for replacement on your timeline, not on the heater’s.
- Ice maker and refrigerator water lines. These thin plastic lines are the most common appliance leak we see. They’re brittle, they crack, and they usually fail at the push-fit connection behind the fridge where nobody looks. Check for condensation or drips every month.
- Dishwasher supply and drain lines. Pull the lower access panel once a year and look for signs of water. A leaking dishwasher often runs unnoticed because the water goes under the cabinet floor before it ever shows on the kitchen tiles.
- Bathroom exhaust fans. Run a tissue test: hold a tissue near the fan while it runs. If it doesn’t pull the tissue toward the grille, the fan isn’t moving enough air, and that moisture is settling on walls and ceilings in a room that never truly dries.
- Sump pump. Even if your basement has never flooded, if you have a sump pit, the pump in it has a lifespan of 7 to 10 years. Replace it before it dies, not after the first heavy rain when you discover it failed.
How to Detect Hidden Moisture Without Professional Gear
You don’t need a thermal camera to find most hidden water problems. You need to know what wet building material looks, feels, and smells like. Water leaves a trail that’s easy to read once you know the signs. In our work as a Floodline Restoration Co. home team serving Astoria, we’ve walked into homes where the homeowner sensed something was off months before the damage became visible. Trust that instinct and investigate.
Here’s what to look for:
- Baseboards that swell or separate. MDF and wood baseboards absorb water like a sponge. A gap between the baseboard and the floor, or baseboard that’s started to bow, means water is running behind it.
- Flooring that feels spongy or sounds hollow. A soft spot in a vinyl floor or a tile floor that clicks when you walk on it means the subfloor is saturated and breaking down.
- Paint that bubbles or peels on ceilings and walls. Water trapped behind latex paint creates bubbles and blisters. If the paint flakes off and the plaster or drywall underneath is chalky, the leak has been there a while.
- Musty smells that come and go. A smell that’s strong on humid days and faint on dry ones is the signature of active mold growth inside a wall cavity or under flooring. It’s not your imagination and it’s not going to air out on its own.
- Doors that start sticking. Wood door frames swell when they absorb moisture. If a bedroom door that closed fine for ten years suddenly sticks at the top corner, look for a leak in the ceiling or wall above that doorway.
Professional moisture meters and thermal imaging find moisture before any of these visible signs appear. But a homeowner doing monthly visual checks catches most problems early enough that drying is measured in days, not weeks.
What You Can Fix Yourself vs. What Needs a Pro
There’s a line every homeowner should know: tightening a supply line is DIY. Cutting into a wall to chase a leak is a job for a crew with a moisture map and commercial drying equipment. The danger isn’t in the repair itself. The danger is in what you can’t see once the water has gone somewhere you can’t reach.
Safe to handle yourself
- Replacing a worn toilet flapper, fill valve, or sink washer.
- Tightening a loose supply line connection with a wrench.
- Replacing a washing machine hose with a new braided steel line.
- Clearing a clogged AC condensate line with vinegar.
- Recaulking a tub or shower surround where old caulk has cracked.
- Cleaning gutters and extending a downspout away from the foundation.
Call a professional when…
- Water has penetrated a wall, ceiling, or subfloor. Once water is inside a building cavity, drying it properly requires commercial-grade air movers and dehumidifiers, not a box fan and a hope.
- The leak source is hidden. If you can see water on a ceiling but can’t find where it’s coming from, opening up the wrong wall wastes time and money while the damage spreads.
- Water has been sitting more than 24 to 48 hours. At that point, mold is likely already started in Astoria’s humid climate, especially between May and September.
- The water is contaminated. Sewage backups, storm water intrusion from outside, or water from an appliance that’s been stagnant require professional sanitation, not just drying.
Insurance Considerations for Astoria Homeowners
Water damage claims get denied or underpaid for one reason more than any other: the homeowner can’t prove they maintained the property. An insurance adjuster will ask when the water heater was last serviced, whether the gutters were cleaned, and whether the leak was sudden and accidental or long-term and gradual. Most standard homeowner policies in Queens cover sudden and accidental water damage, like a burst pipe or an overflowing washing machine. They do not cover damage from long-term neglect, like a leak you knew about and didn’t fix.
Here’s how to protect yourself:
- Keep a simple log. Write down when you changed the washing machine hoses, tested the sump pump, cleaned the gutters, or had the water heater serviced. A written log, even a note on your phone, is the difference between a paid claim and a denied one.
- Photograph everything before and after. If a leak starts, take photos of the source, the affected area, and anything the water touched. Insurers respond well to documentation that’s timestamped.
- Know what your policy says about mold. Many policies have a mold sub-limit, often $5,000 to $10,000, regardless of the total damage. If mold is part of the claim, that sub-limit matters.
- Flood insurance is separate. Water that comes from outside youastoria home - rising storm water, the East River, a sewer backup - is typically NOT covered by a standard homeowner policy. This is what flood insurance through FEMA’s National Flood Insurance Program covers, and it’s a separate policy.
When water damage happens, you’ll want a contractor who bills the insurance carrier directly, documents the moisture readings with a written log, and gives the adjuster everything they need to process the claim the first time. That’s the standard we hold ourselves to at Floodline, and it keeps Astoria homeowners out of the middle of the paper chase.
Common Mistakes to Avoid
- Assuming a small stain isn’t a big deal. We’ve cut open ceilings in Astoria homes where a six-inch stain on the paint covered a four-foot-by-four-foot area of saturated insulation and framing above. The visible stain is just the tip.
- Using a household fan to dry a wet wall. A box fan moves air across the surface. It does not pull moisture out of drywall, insulation, or subfloor. That water sits, and within days, mold is growing where you can’t see it. This is the most expensive mistake we fix.
- Turning off the water and waiting to see if it dries. Water that is no longer being fed will stop spreading, but it will not dry inside a wall cavity on its own. Drying requires controlled airflow and dehumidification, not patience.
- Ignoring small leaks in the basement until “spring cleaning.” Astoria basements are damp by nature. A small leak now is a mold colony by spring. In the warm, humid months, mold can establish itself in as little as 48 to 72 hours.
- Hiring the cheapest contractor and hoping for the best. Water damage work is invisible once the walls are closed back up. You’re not buying drywall and paint. You’re buying the moisture log and the written guarantee that says the framing is dry and the job is done right. Cheapest rarely includes either.
- Not replacing washing machine hoses because they “look fine.” Rubber hoses fail from the inside. The braid on the outside can look perfect while the inner tube is cracked and ready to burst. Replace on the calendar, not on appearance.
When to Call a Professional
Call a restoration company when water has gone places you can’t reach with a mop. If water traveled inside a wall, soaked through a ceiling, pooled under flooring, or sat for more than a day, you need professional drying equipment and a written moisture log. Call when the water is contaminated - sewage, storm water, or anything from outside. Call when mold is already visible or the smell has settled in. In all these cases, delaying makes the damage worse and the bill bigger. Floodline Restoration Co. offers free estimates throughout Astoria. Call (518) 800-3751 any time, day or night, and a live dispatcher will pick up. We’ll have a certified crew at your door with the equipment to stop the damage the same visit.
Frequently Asked Questions
Once a month is the right rhythm for most Astoria homeowners, taking 15 to 20 minutes to walk the inspection route described above. Seasonal checks for gutters, downspouts, and sump pumps add another layer of protection. If you’ve had water issues before, inspect every two weeks until you’re confident the problem is fully resolved.
Standard homeowner policies in Astoria generally cover sudden and accidental water damage, such as a burst pipe or an overflowing tub. They do not cover damage from long-term leaks, neglect, or water that enters from outside the home. Flood insurance is a separate policy and is required in some lower-lying flood zones.
Our dispatchers answer calls live 24/7, and in most Astoria neighborhoods, a certified crew can be on site within an hour or two of your call. Extraction typically starts the same visit, with professional-grade Dri-Eaz air movers and dehumidifiers set up and running before we leave.
Water damage covers water that comes from inside your home’s systems: plumbing, appliances, water heaters, and HVAC. Flood damage is water that comes from outside, from rising groundwater, storm surge, or an overflowing river or bay. The insurance coverage and the restoration approach both differ, with flood water requiring different sanitation because it’s contaminated.
Not always. If the water is extracted quickly and the affected area is fully dried to the proper standard within 48 to 72 hours, mold typically never gets a foothold. But in Astoria’s humid summers, any water that sat longer than two or three days should be evaluated for mold, especially inside walls and under flooring where you can’t see.
Yes. Our technicians are background-checked, uniformed, and trained to IICRC, RIA, and IFA standards. We carry full liability insurance, and we bill your insurance carrier directly so you don’t have to be the middleman. Every job includes a written moisture log and our 90-Day Done Right Promise, the Keystone Standard, given to you in writing before we finish.
The Bottom Line
Water damage in Astoria homes is rarely a single dramatic event. It’s the sum of small leaks, deferred maintenance, and the slow failure of parts that were never designed to last forever. A monthly inspection catches those problems early. Seasonal maintenance keeps the gutters flowing and the sump pump running. And knowing the boundary between a DIY fix and a professional restoration protects both your home and your insurance claim. When water gets where it shouldn’t, act fast, document everything, and call a crew that stands behind the work in writing. The line the water left is where we start, and we’ll finish the job right, with the moisture log and the guarantee to prove it.
Written by Curt Bowman, Owner at Floodline Restoration Co., serving Astoria since 2010.